| Available for: Premium Plan |
💡 Skip ahead to:
Introduction
Allxon Provisioning Playbook, an automated setup process of Plugins and OTA Artifacts, can significantly reduce the provisioning timeline of mass device fleets via a single unified portal. This article is a step-by-step guide on how to successfully create repository Provisioning Playbook for your future device fleets at scale.
Step 1: Edit Provisioning Playbook
- Select the Plugins, OTA Artifacts and Commands you would like to deploy on the edge AI devices under the Plugin and OTA tab
- Drag and drop Plugins, OTA Artifacts and Commands to the Playbook in the desired order.
- Add/Delete/Re-arrange the sequence of Plugins and OTA Artifacts.

💡Note: To provision OTA artifacts, upload the artifact first if it hasn’t been done already. During deployment, you can use an advanced feature to set command-line arguments for a more flexible process.
👉🏻 Learn more: Deploy OTA Artifact with Command-Line Arguments
Step 2: Test Provisioning Playbook
-
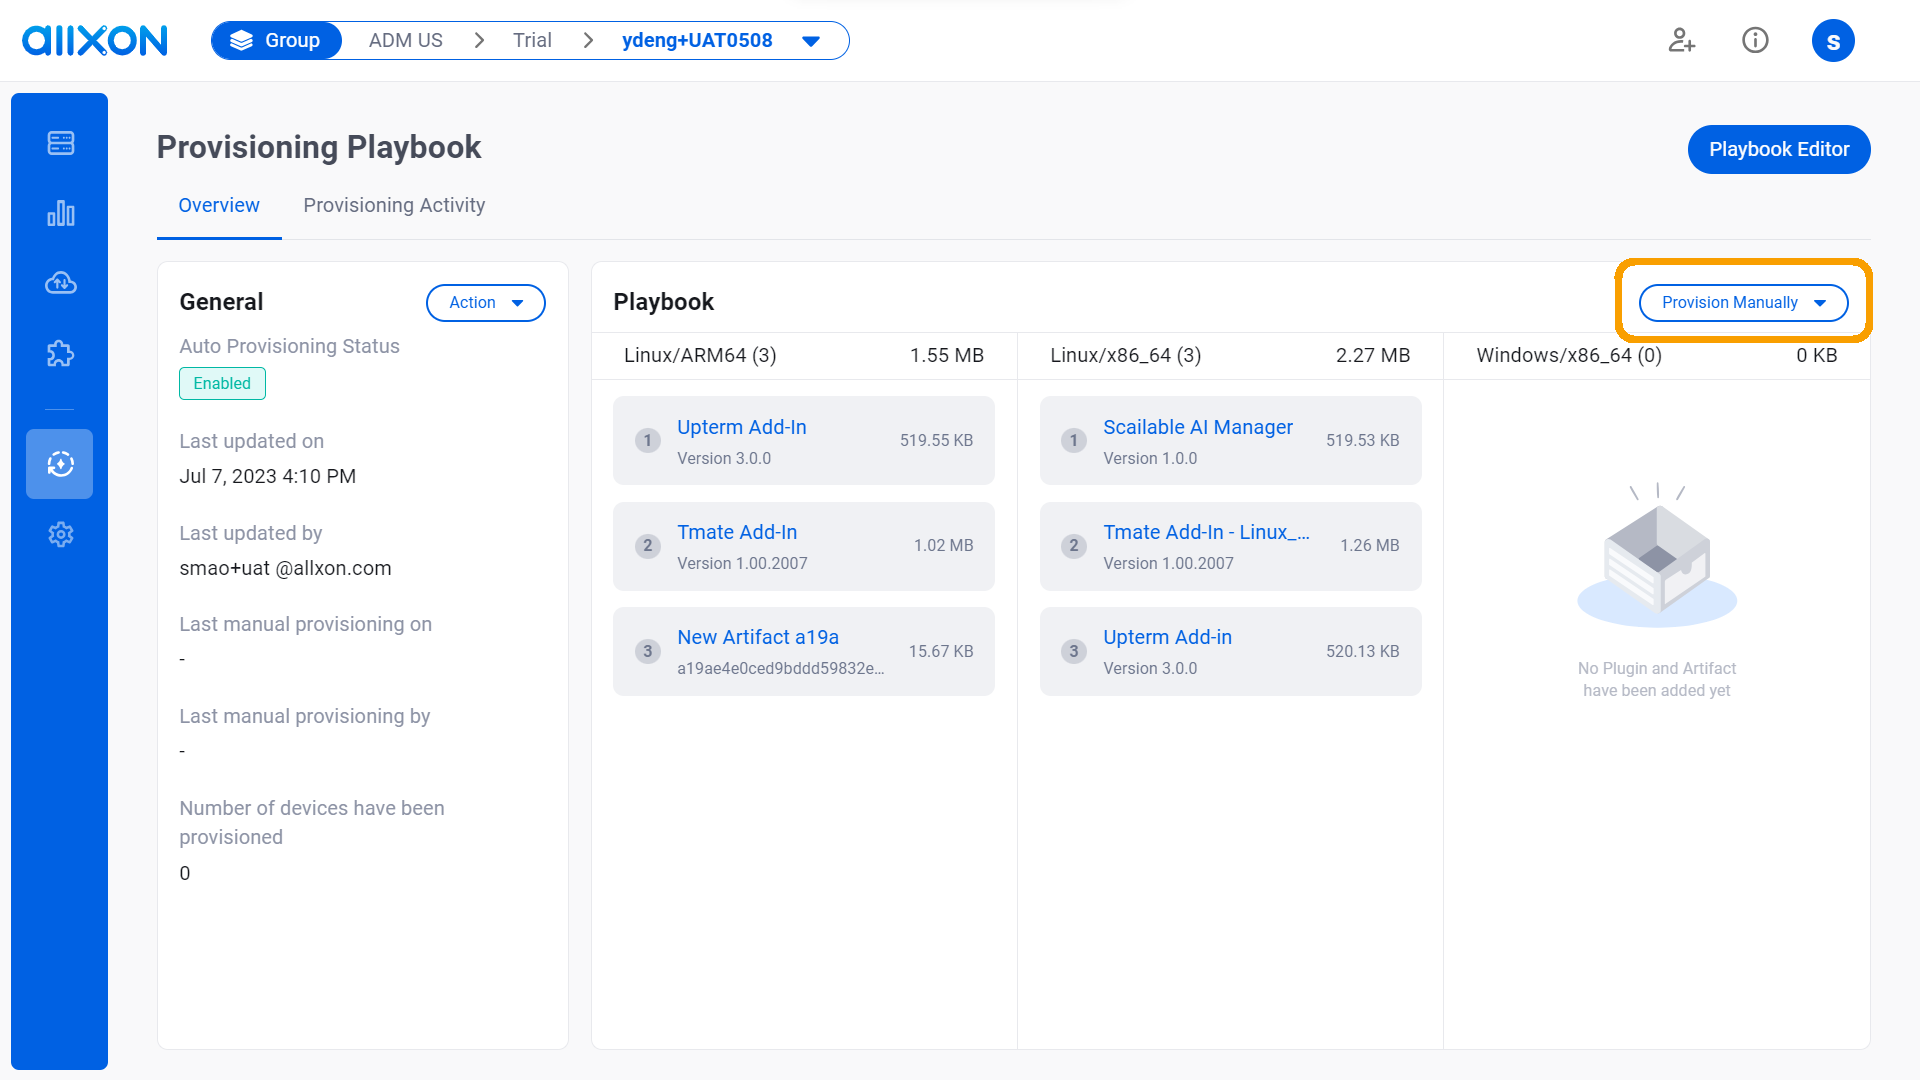
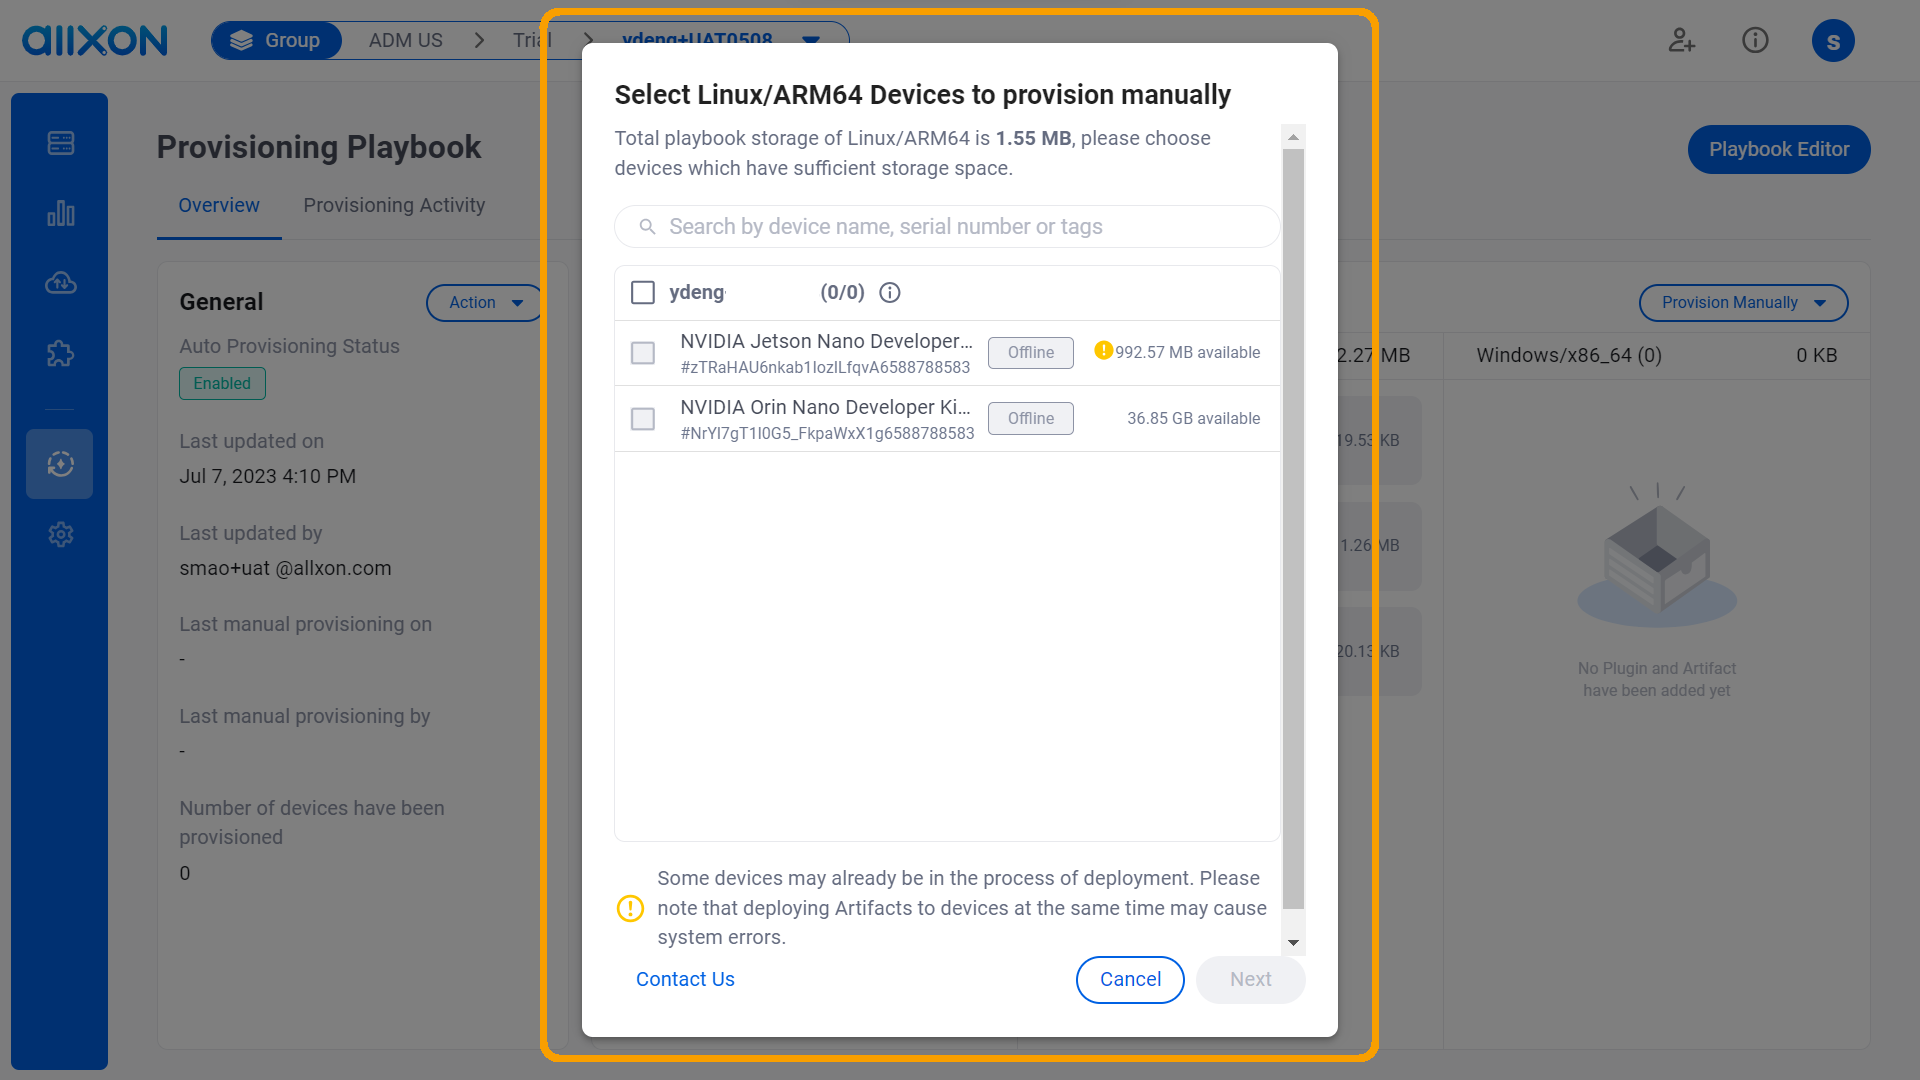
Click on the Provision Manually button to test the validity and effectiveness of the execution process of your provisioning playbook before publishing it.

Step 3: Automate the Provisioning Process
Click on the Publish button after testing the Provisioning Playbook to automate your Provisioning process. This playbook will be applied to all your newly added devices automatically. Additionally, you can click on the Provision Manually button to provision the devices that are already in the group.


💡Reminder: If the execution of the Provisioning Playbook exceeds 24 hours, it will result in a timeout and the process will fail.
👉🏻 Learn more: Provisioning Playbook Interface
You’re All Set!
